Iron on Vinyl Transfers
Iron on Vinyl Transfers (HTV) is a specialty vinyl material used to decorate garments and other surfaces. It comes in sheets or rolls and is cut into designs using a vinyl cutter. After weeding away the excess vinyl, the design is heat-pressed onto the fabric.
Key Features:
- Material: Polyurethane or PVC-based vinyl
- Application: Requires a vinyl cutter and heat press
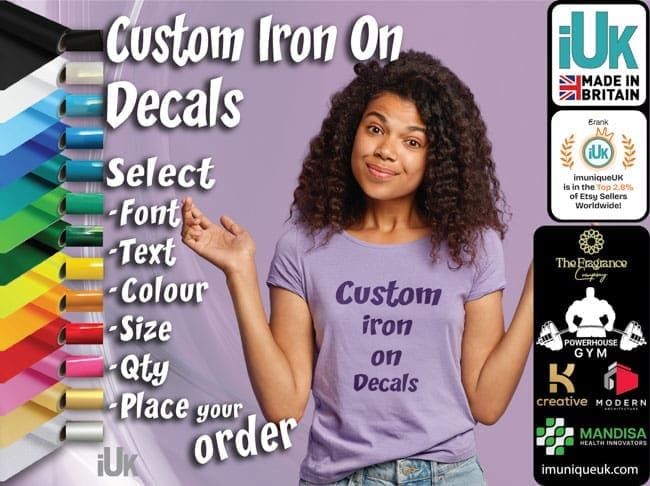
- Finish Options: Matte, glossy, glitter, flock, holographic, metallic, glow-in-the-dark
- Design Style: Best for solid shapes, text, and simple graphics
Advantages of HTV Compared to DTF

Why Choose HTV?
HTV shines when:
- You’re working on small-scale or personalized projects
- You want unique textures or finishes (like glitter or flock)
- You prefer a hands-on, craft-style workflow
- You’re just starting out and want a budget-friendly setup
If you’re experimenting with sublimation and material compatibility, HTV could be a great complement—especially for items that don’t work well with sublimation (like dark cotton fabrics).
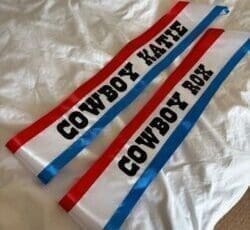
HTV is a perfect solution for a mono coloured decal application. For a multi coloured project refer to our DTF line. The transfer is on a heat proof, clear transfer sheet to aid placement.
Our vinyl is durable, flexible, and easy to apply (instructions and testers supplied), it can withstand a large range of ambient temperature conditions ranging from -29C – 38C (direct sunlight may result in fading).